Videos
Video Description
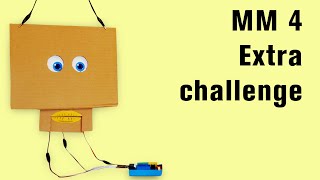
MM 4: Extra challenge – XY eye control
Details: Extra challenge! In this final video I pose a final challenge to the adventurous innovators out there. If you remember all the way back to the introduction video, you
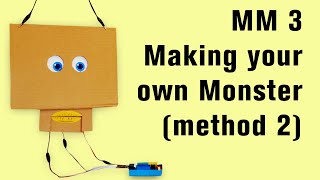
MM 3: Making your Monster your own (method 2)
Details: In this video, I’ll show you one possible way to edit your monster mask so that it’s a little bit more monster-like. You’ve probably designed something that doesn’t just
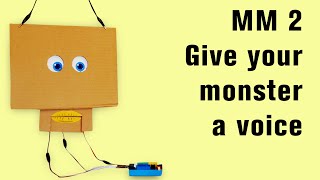
MM 2: Give your monster a voice
Details: In this video, we’ll take the monster’s movable mouth and add actual speech to it by using a text-to-speech block. Then you can start to incorporate your monster’s voice

MM 1: Coding Mouth Motion (method 1)
Details: Now that you have your own monster mask together we need to start coding the servo that controls the mouth. In this video we’ll go over what type of
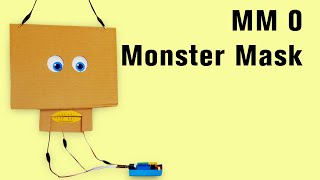
MM 0: Monster Mask
Details: This video walks you through the classroom lesson via a slideshow and provides you with the instructions to create your own animatronic monster mask. This is the longest and

HH 3 : How to combine code and story
Details: In this video, I walk you through some of the coding strategies I use when developing a program and story together. This video is not a pure tutorial, but

HH 2.2 Connecting your tail to Snap (method 2)
Details: In this video, we introduce Method 2 for attaching your servo and monster part to your snap program. This method requires a little bit more time and energy, but

HH 2.1: Connecting your hand to Snap (method 1)
Details: In this video, we introduce Method 1 for attaching your servo and monster part to your snap program. This method is faster and easier than method 2, but the

HH 2: Connecting your hand to Snap
Details: In this video we prep our monster part and servo so they are ready for connecting together. We use the paper servo mount (included below). Brush up on your
HH 1: Adding motion to your hand
Details: With your monster part complete we now need to prepare the servo motor. The servo motor will allow your program to control the monster part by spinning its horn.
HH 0: Handmade Hand
Details: This video walks you through the classroom lesson via slideshow and provides you with the instructions to create your own pulley-based monster part – we use a hand, but

DC 4: Finishing up and demonstration
Details: With our code complete and ready to go, it’s time to integrate our monster part into the actual story. You’ll see a quick demo of my program, then I’ll

DC 3: Introduction to loops
Details: With your program now controlling the LED on and off, its time to introduce Loops. Loops are an extremely powerful tool that save you a lot of time by

DC 2: Basic LED hookup
Details: Now that you have your Dough Creature made, and your Snap! Program started, it’s time to start connecting the two together. This video shows you how to combine your
DC 1: Introduction to Snap
Details: This video introduces the basics of the Snap! coding environment. You’ll learn about sprites, backgrounds, the xy grid, motion, and the basic sequence of coding. If you really want

DC 0: Making your Monster – Part 1: Dough Circuit
Details: This video walks you through the classroom lesson via slideshow and provides you with the instructions to create your own simple circuit. Once you’ve created your simple circuit, you’ll
